
本記事では、Windows 10やWindows11でも利用できるWindows Subsystem for Linux (WSL) のインストール方法をご紹介します。WordPressなどサーバー上で記事を書く際には何かとブラウザが重くてウンザリする場合、自身のパソコンにWEBサーバーを構築する際にも便利です。
 管理人
管理人本記事の読者層は以下の方を想定しています。
- オフラインでもWordPressで記事を書きたい方
- Linux初心者でWindowsでLinuxを触って利用したい方
WSLの概要
WSL(Windows Subsystem for Linux)とは、Windows10/11やWindows serverなどのMicrosoft Windowsオペレーティングシステムで、直接Linux環境を実行できる技術です。WSLは、WindowsとLinuxのデュアルモード環境を提要できるため、開発者にとってはとても便利なものです。
WSLは、Ubuntu以外にも、Debina、SUSE Linux Enterprise Server, Kali Linuxなどのディストリビューションをサポートしています。
インストール方法は、Microsoft StoreからインストールできるためWindowsユーザーであれば簡単にインストールができます。
使用環境
- ホスト環境:Windows OS 10もしくは11
Windows 10 を使う場合は,Windows 10 の更新を行っておきます。
「Windows の機能の有効化または無効化」で,
①「Hyper-V」にチェックする.(これにチェックを行わないとなぜかインストールできなかったです。)
②「Linux 用 Windows サブシステム」にもチェックし, 「OK」ボタンをクリック。
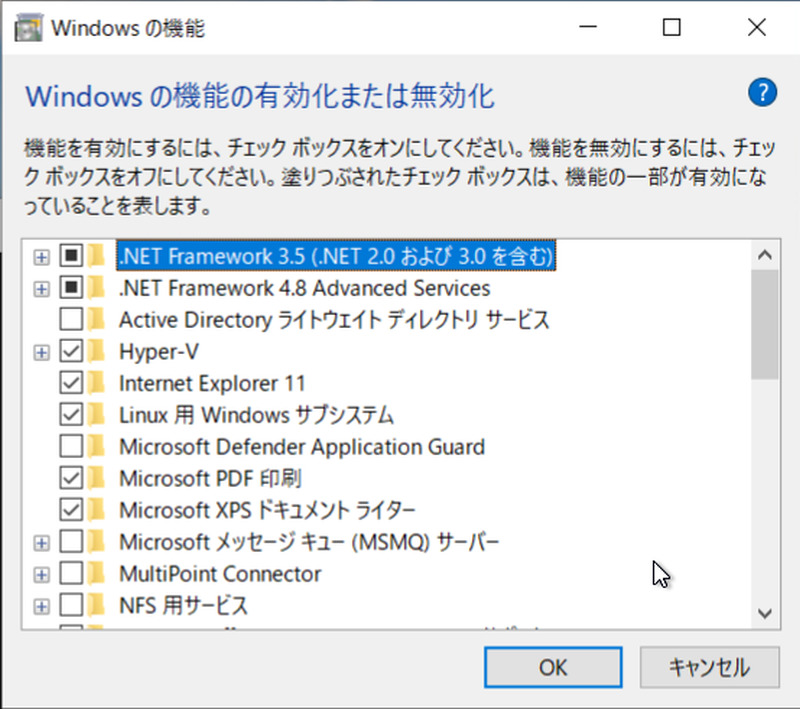
個々で、一度、Windowsを再起動します。
Windows11の場合は、
「Windows の機能の有効化または無効化」で,
①「Linux 用 Windows サブシステム」にもチェックし, 「OK」ボタンをクリック。
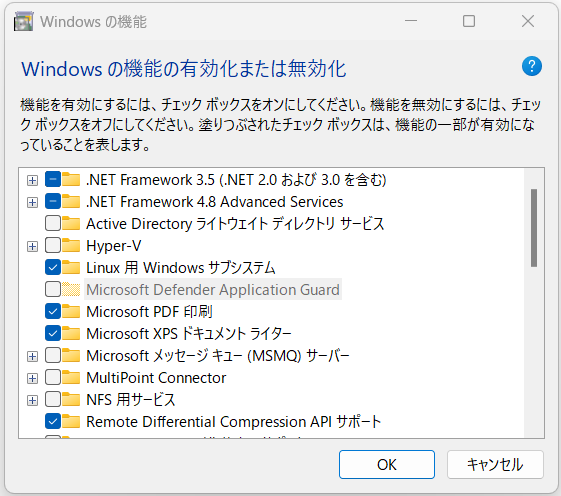
Windows11の場合、「Hyper-V」にチェックしなくてもインストールできました。
Microsoft Storeから検索します。
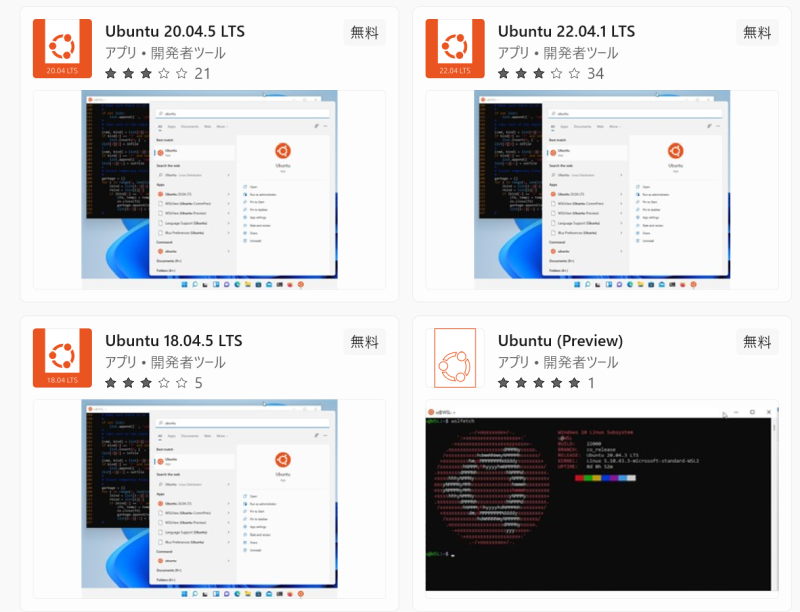
すると、以下の3種類のUbuntu Linuxのソフトウェアがダウンロード可能です。
① Ubuntu 18.04.5 LTS
② Ubuntu 20.04.5 LTS
③ Ubuntu 22.04.1 LTS
本家のUbuntuとの最新バージョンの差
2022年11月現在:Windows版の最新WSLはUbuntu LTS 18.04.5がインストールされていました。
一方、本家はUbuntu LTS 18.04.6がイントール可能でした。
Windowsの方は、バージョンが少し遅れてリリースされるようです。
Ubuntu 18.04.05 LTSを選択し、以下の「入手」ボタンを押します。
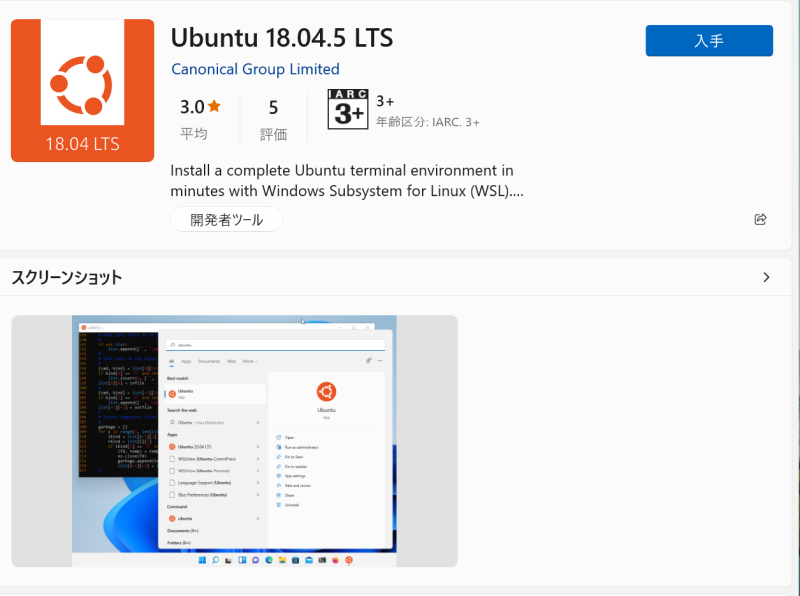
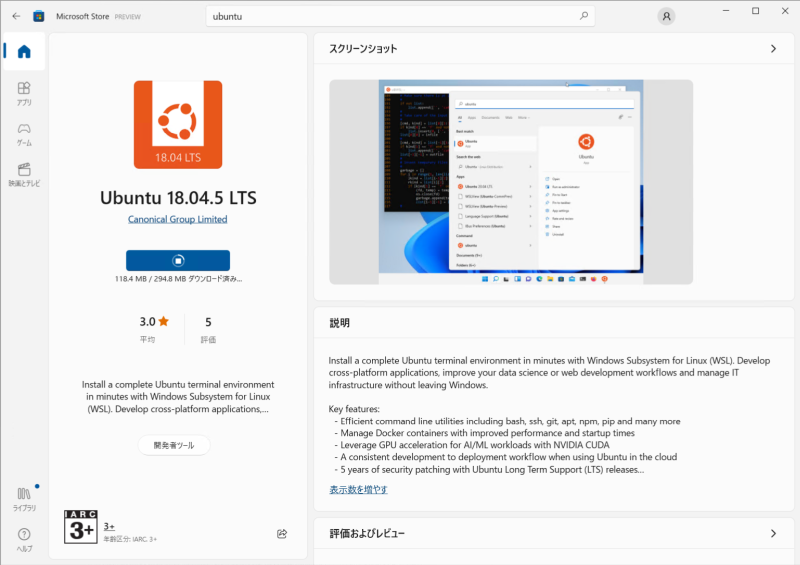
インストール方法には、294.8MBほど容量が必要です。
Ubuntu 18.04.5 LTSの起動
そのまま、「開く」ボタンをおすことで、以下のようにrootで起動に成功しました。
コマンドプロンプトが現れていれば、この時点でインストールプロセスは終了です。
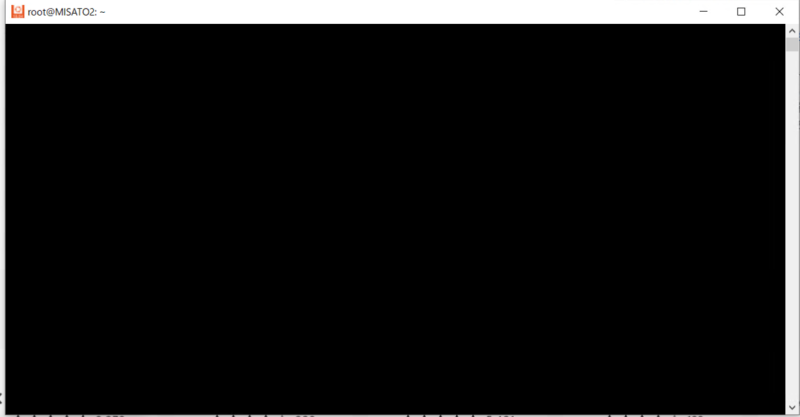
実際には、表示が薄いですがコマンドプロンプトが表示されています。
アップデート&アップグレード
最後に、以下コマンドを入力して最新状態にしておきます。
sudo apt-get update
$sudo apt-get upgrade
Ubuntuの終了方法
powershellかMS-DOSプロンプト画面にて、
$wsl --shutdownと入力することでUbuntuが終了します。このコマンドが入力した段階でWSLのコマンドプロンプト画面が自動的に閉じます。
【補足】WindowsのWSL上でWordPressを利用したい方は以下の記事をご参照ください。
【補足】WSLには更により完全な形のWSL2があります。WSL2のインストールは以下の記事を参考にしてください。

まとめ
Windows Subsystem for LinuxはWindows10でもWindows11でも手軽にインストールが可能
次回の記事をご期待下さい。どうぞよろしくお願いいたします。
関連リンク


コメント